View basket (0 items $0.00)
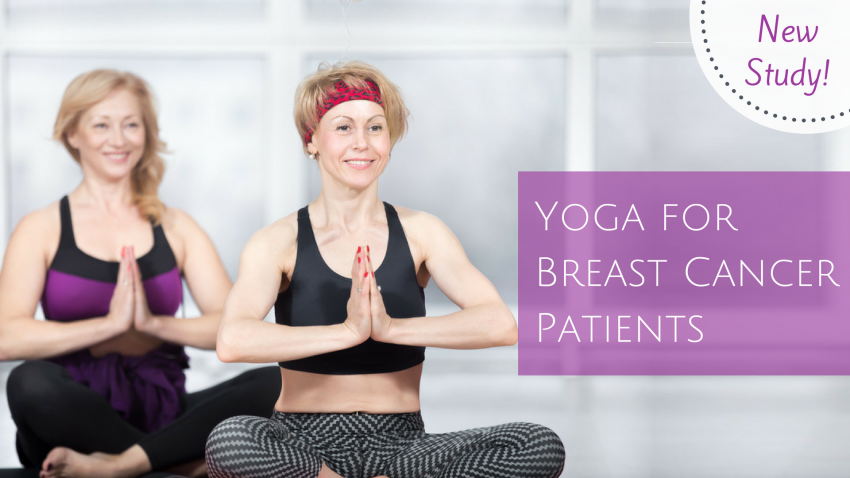
Yoga for Breast Cancer Patients: New Study Explores Appropriate Home Practices
Cancer treatment is an arduous process. Patients may experience a range of debilitating side effects both during and after treatment. Yoga may help with these side effects, but is it possible for people undergoing cancer treatment, who may be suffering from fatigue, nausea, psychological distress, and cognitive issues, to stick to a yoga routine?
A recent study set out to determine just this. Researchers at St. Luke’s International Hospital in Tokyo, Japan, investigated whether a self-directed yoga program was feasible for breast cancer patients who experience cognitive issues during chemotherapy.
Of the 17 women, aged 33-58 years, who participated in the study, 86% practiced yoga at home throughout the entire four-week duration of the study. Ninety-four percent of the participants practiced the home yoga program more than twice a week. When surveyed about the yoga program, all participants answered “Agree” or “Strongly Agree” for all survey questions; hence the acceptability rate of the program was 96.5%.
The yoga program offered three 15-minute courses varying in intensity: warm-up, low intensity, and high intensity. Participants preferred the warm-up and low-intensity offerings (stable sedentary poses, breathing and stretching exercises) to the higher intensity standing poses. They also preferred to gradually increase the intensity of the exercises within each session.
In their analysis of the data, the study’s authors indicated that the high retention, adherence, and acceptability rates were a result of allowing the participants to tailor their own yoga practice based on their preferences and whatever physical and psychological issues were coming up that day. Also, the fact that the participants practiced yoga at home gave them the flexibility to incorporate the routine into their day at a time that was convenient for them.
Below is a sequence inspired by the researchers’ recommendations for low-intensity, stable, sedentary poses and breathing exercises. The postures and exercises were chosen based upon those offered to participants in the study. Mix and match, or do the sequence from start to finish. But most importantly, let your body, breath, mind, and heart guide you to determine what feels right for you from moment to moment.
Sama Vritti (Equal Breathing) 
-
Sit or lie in a comfortable position.
-
Become aware of your breath. Notice that you’re breathing in, and notice that you’re breathing out.
-
Little by little, begin to breathe more deeply.
-
Let your breath gradually settle into a smooth, even rhythm. Breathe in for the same amount of time that you breathe out, matching the length of your inhalation with the length of your exhalation. It might help to count as you breathe: inhaling for a count of five then exhaling for five. Find a length of breath that feels deep but comfortable.
-
Spend anywhere from one to several minutes breathing in this way.
-
When you’re finished, let go of the equal breath and let your breath resume its natural pace and rhythm.
Half-Knees-to-Chest Pose (Ardha Apanasana) 
-
Lie on your back with knees bent and soles of feet on the floor.
-
Gently draw your right knee towards your chest. Maintain a neutral pelvis and natural lumbar curve. If your low back presses into the ground as you bring your right knee in, move the knee slightly forward.
-
Slowly walk your left foot forward, away from the buttock. As the leg gradually straightens, bring your awareness to the front of your left hip. If you feel tension there, pause and focus on releasing that tension.
-
Stay for 5 to 10 breaths.
-
Bend the left knee and return the sole of the left foot to the ground, then lower the right foot.
-
Do the same on the second side. (a variation is featured in photo above)
Hand-to-Foot Pose A (Supta Padangusthasana A) 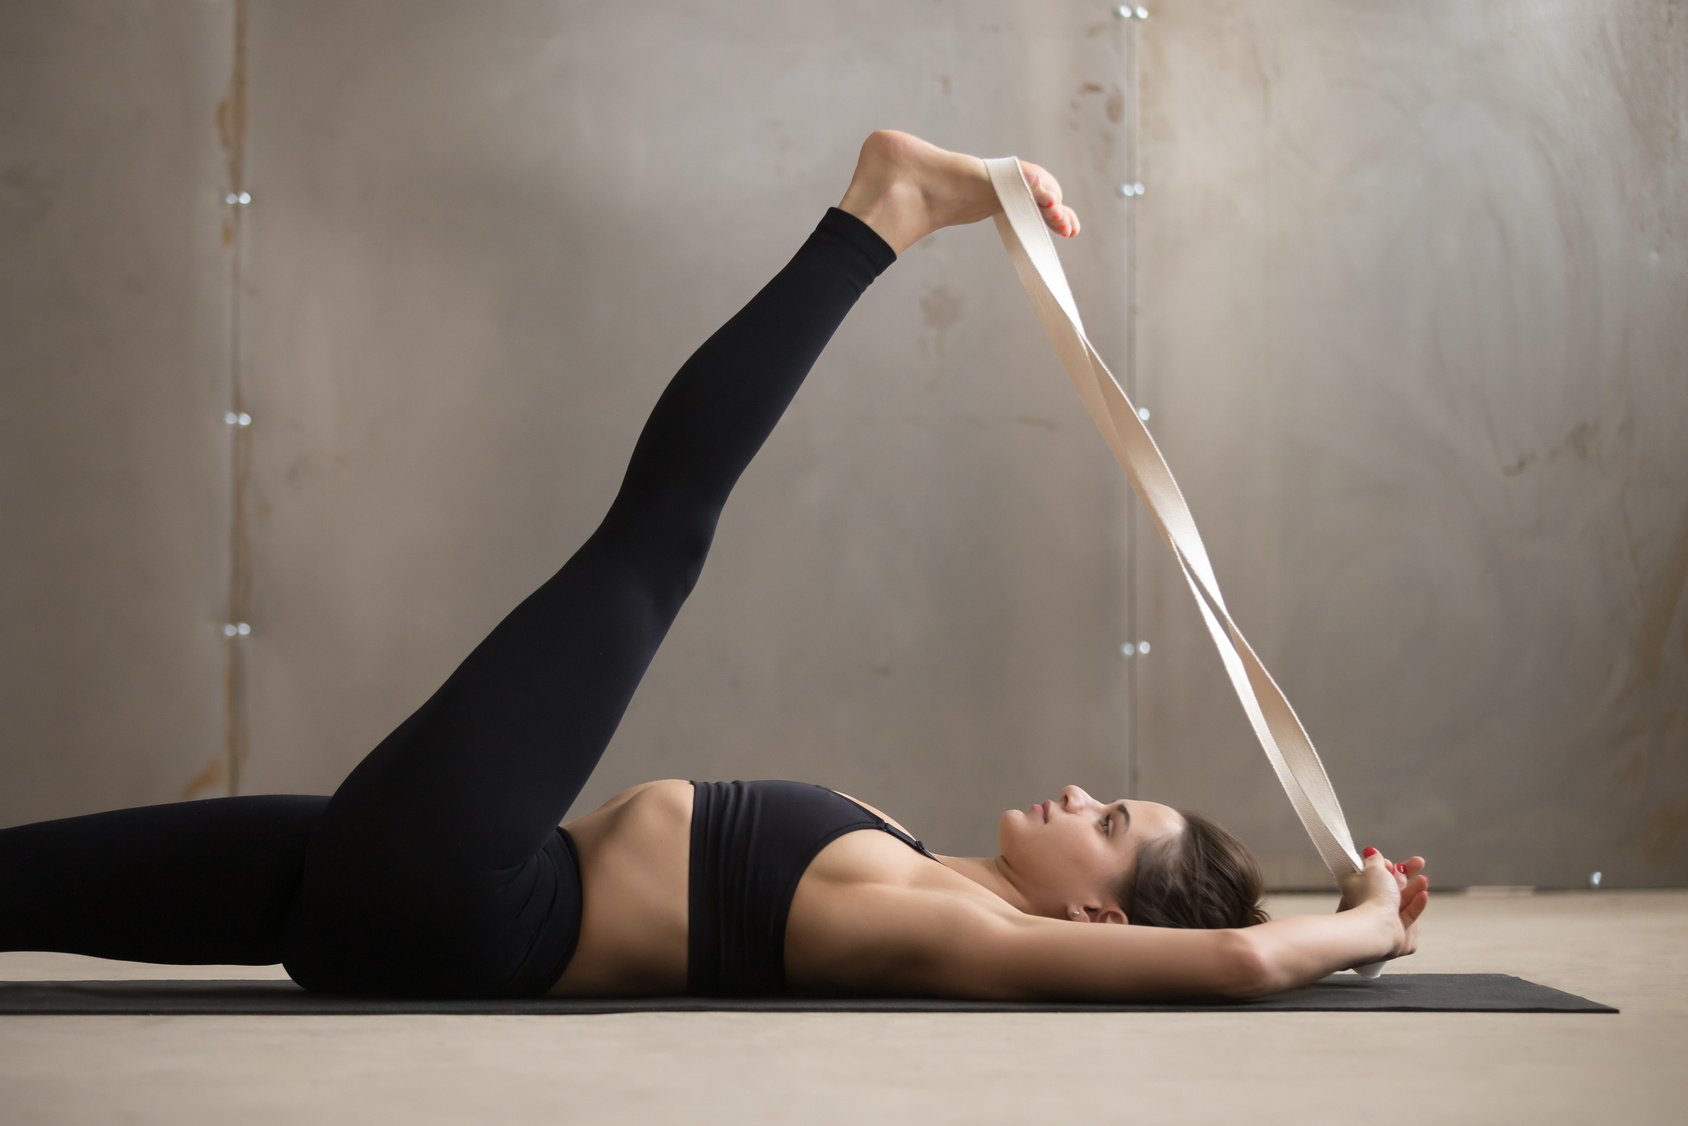
Required prop: yoga strap
-
Lie on your back with knees bent and soles of feet on the floor.
-
Draw your right knee towards your chest, flex the foot, and loop a strap around the ball of the foot.
-
Holding onto one end of the strap in each hand, press your right heel towards the sky as you gradually straighten your right leg. Either keep the left leg as is or straighten it along the ground. If the left leg is straight, flex the foot and ground down through the back of the leg.
-
Release the backs of your shoulders toward the mat, so your chest feels spacious and your neck muscles relax.
-
Notice if one side of your sacrum is pressing down more than the other. If so, spread your weight evenly through the right and left halves of the back of your pelvis.
-
Stay for 5 to10 breaths.
-
Bend both knees and release your right foot from the strap.
-
Do the same on the second side.
Low Lunge (Anjaneyasana) 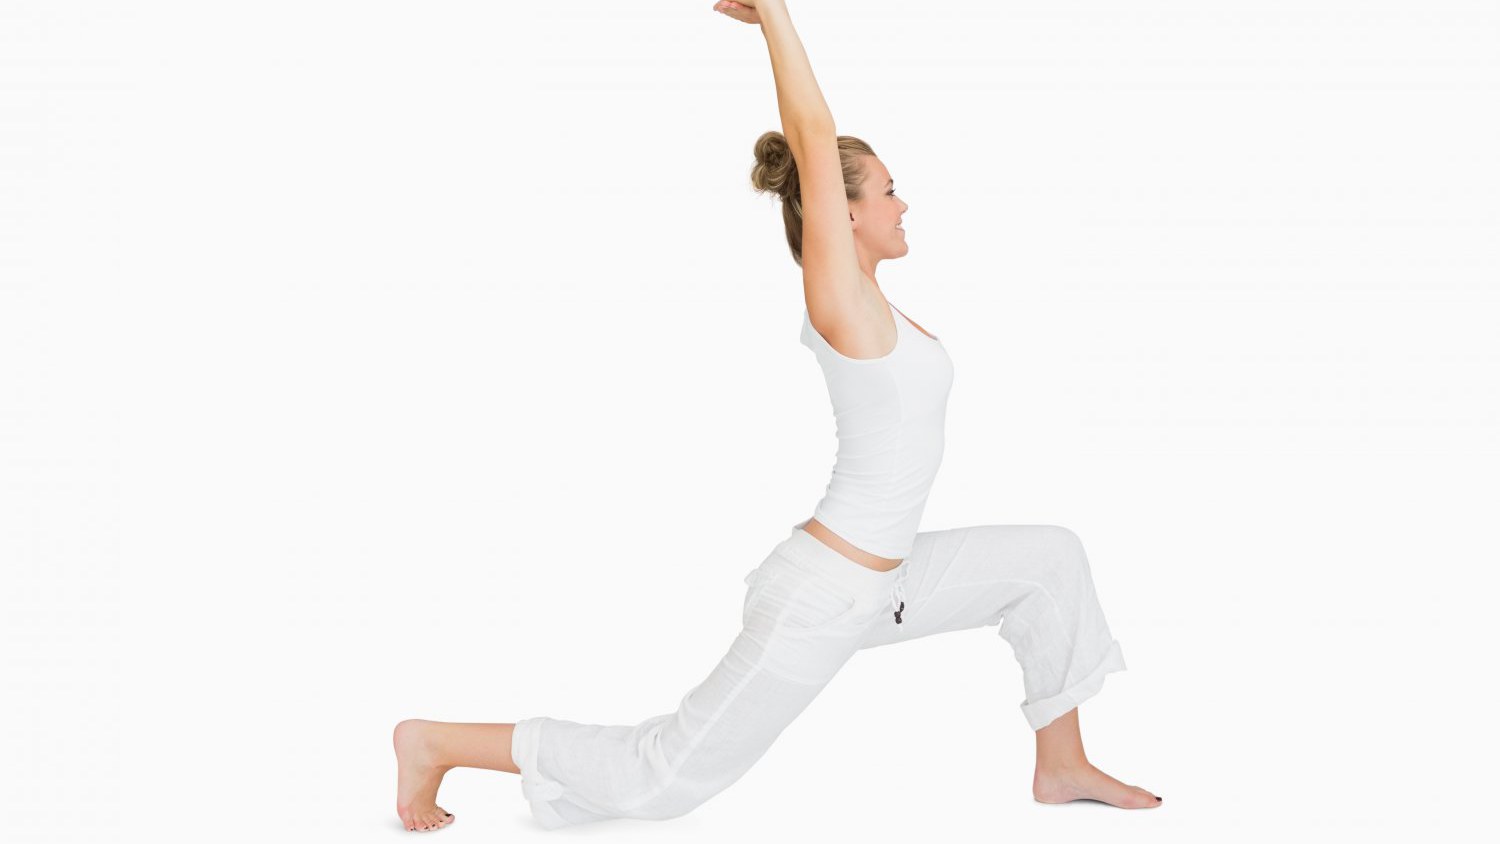
Optional prop: blanket
-
Come onto your hands and knees, facing down towards the ground. If your knees are sensitive, place a blanket underneath them.
-
Step your right foot forward, aligning the ankle directly below the knee.
-
Stack your hands on top of your right thigh and press firmly down into the thigh to create a lift through the core of your body.
-
Hands may stay here, or sweep your arms out and up overhead.
-
Stay for 5 to 10 breaths.
-
Bring your hands back down to the ground and step the right knee to the floor beside the left knee.
-
Do the same on the other side.
Supported Child’s Pose (Salamba Balasana) 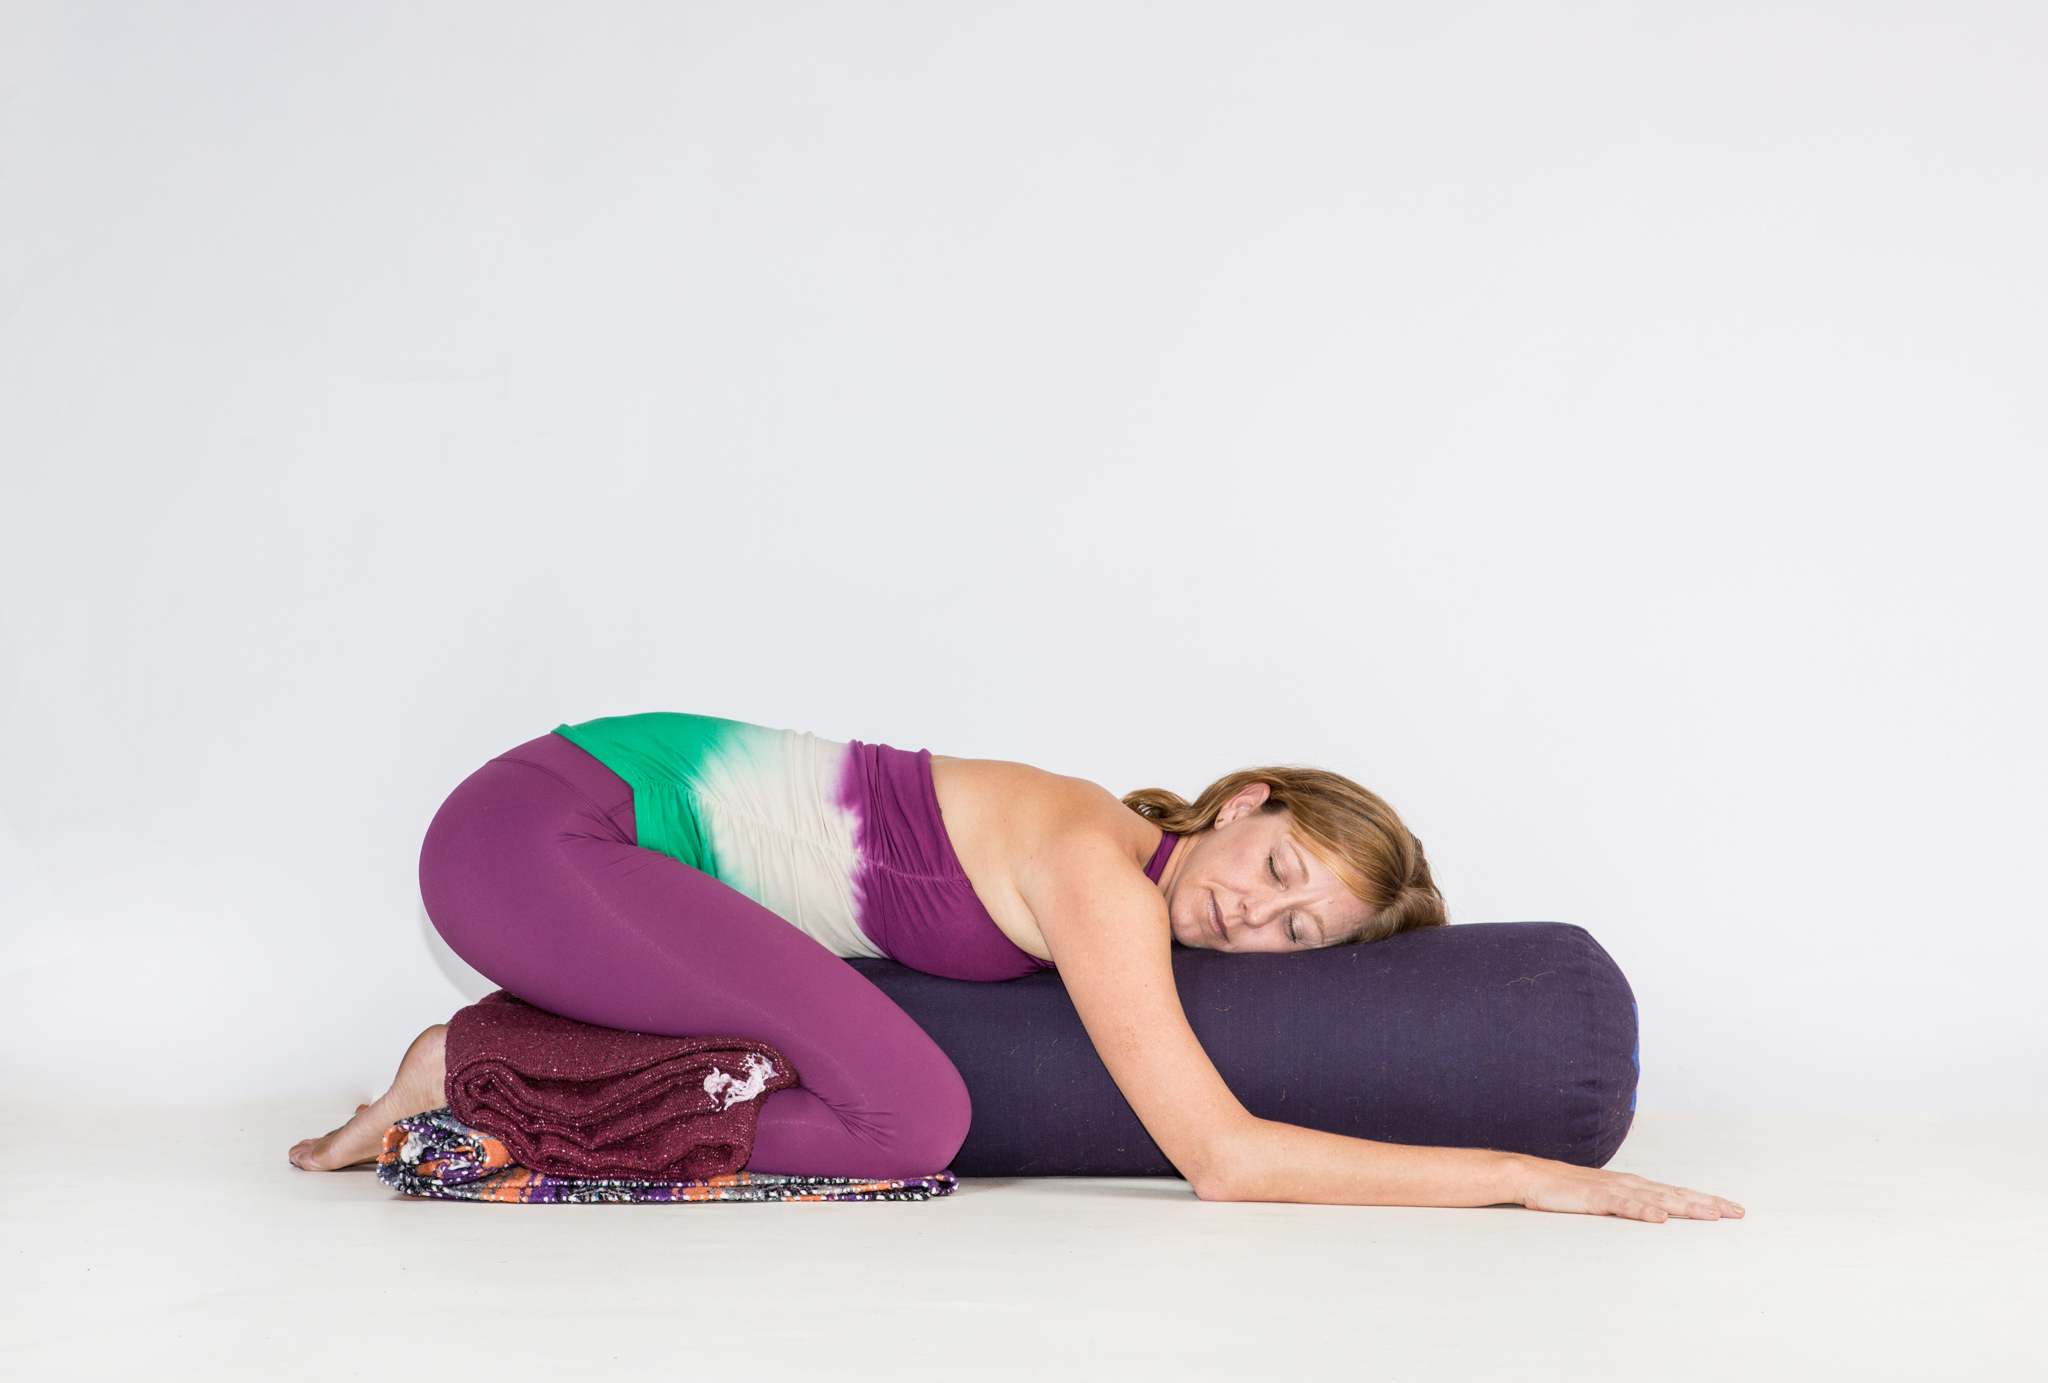
Required props: blanket, bolster
-
Kneel on a blanket and place a bolster lengthwise in front of you.
-
Separate your knees wide apart, placing your knees on either side of the bolster while keeping your feet close together and your hips resting on your heels.
-
Inhale as you lengthen your spine, then exhale and lay your torso over the bolster, turning your head to one side and resting your hands on either side of the bolster. If you’re not comfortable turning your head, place one hand on top of the other on the bolster and rest your forehead on your hands. If you feel the support under your torso needs to be higher, stack one or more folded blankets on the bolster until you find a height that allows your body to relax.
-
Stay for 1-2 minutes with your head turned one way, then the same amount of time with it turned in the opposite direction.
-
Slide your hands under your shoulders and press them into the floor. Keeping your head heavy, roll up to a sitting position, one vertebra at a time, and allow your head to arrive last.
Jathara Parivartanasana (Supine Spinal Twist Pose) 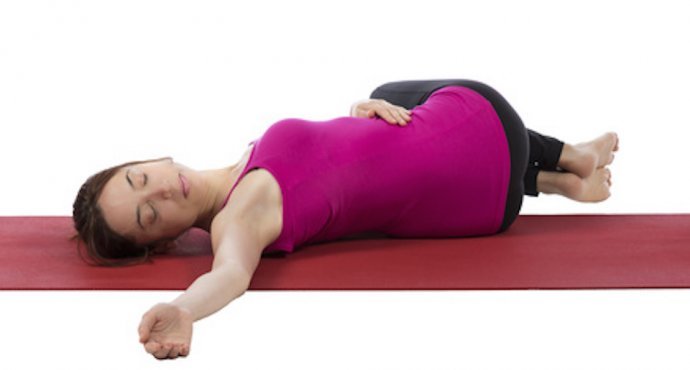
-
Lie on your back with your knees bent and the soles of your feet on the floor.
-
Pressing down into your feet, lift your hips, shift them slightly to the right and place them back down.
-
Draw your knees toward your chest and lower them to the left.
-
Spread your arms into a T-shape on the floor.
-
If it feels good, turn your head to look past your right fingers. If that strains your neck, look up at the ceiling instead.
-
Take several breaths here before returning your knees and hips to center.
-
Do the same on the other side.
Savasana (Corpse Pose)—With or Without Support 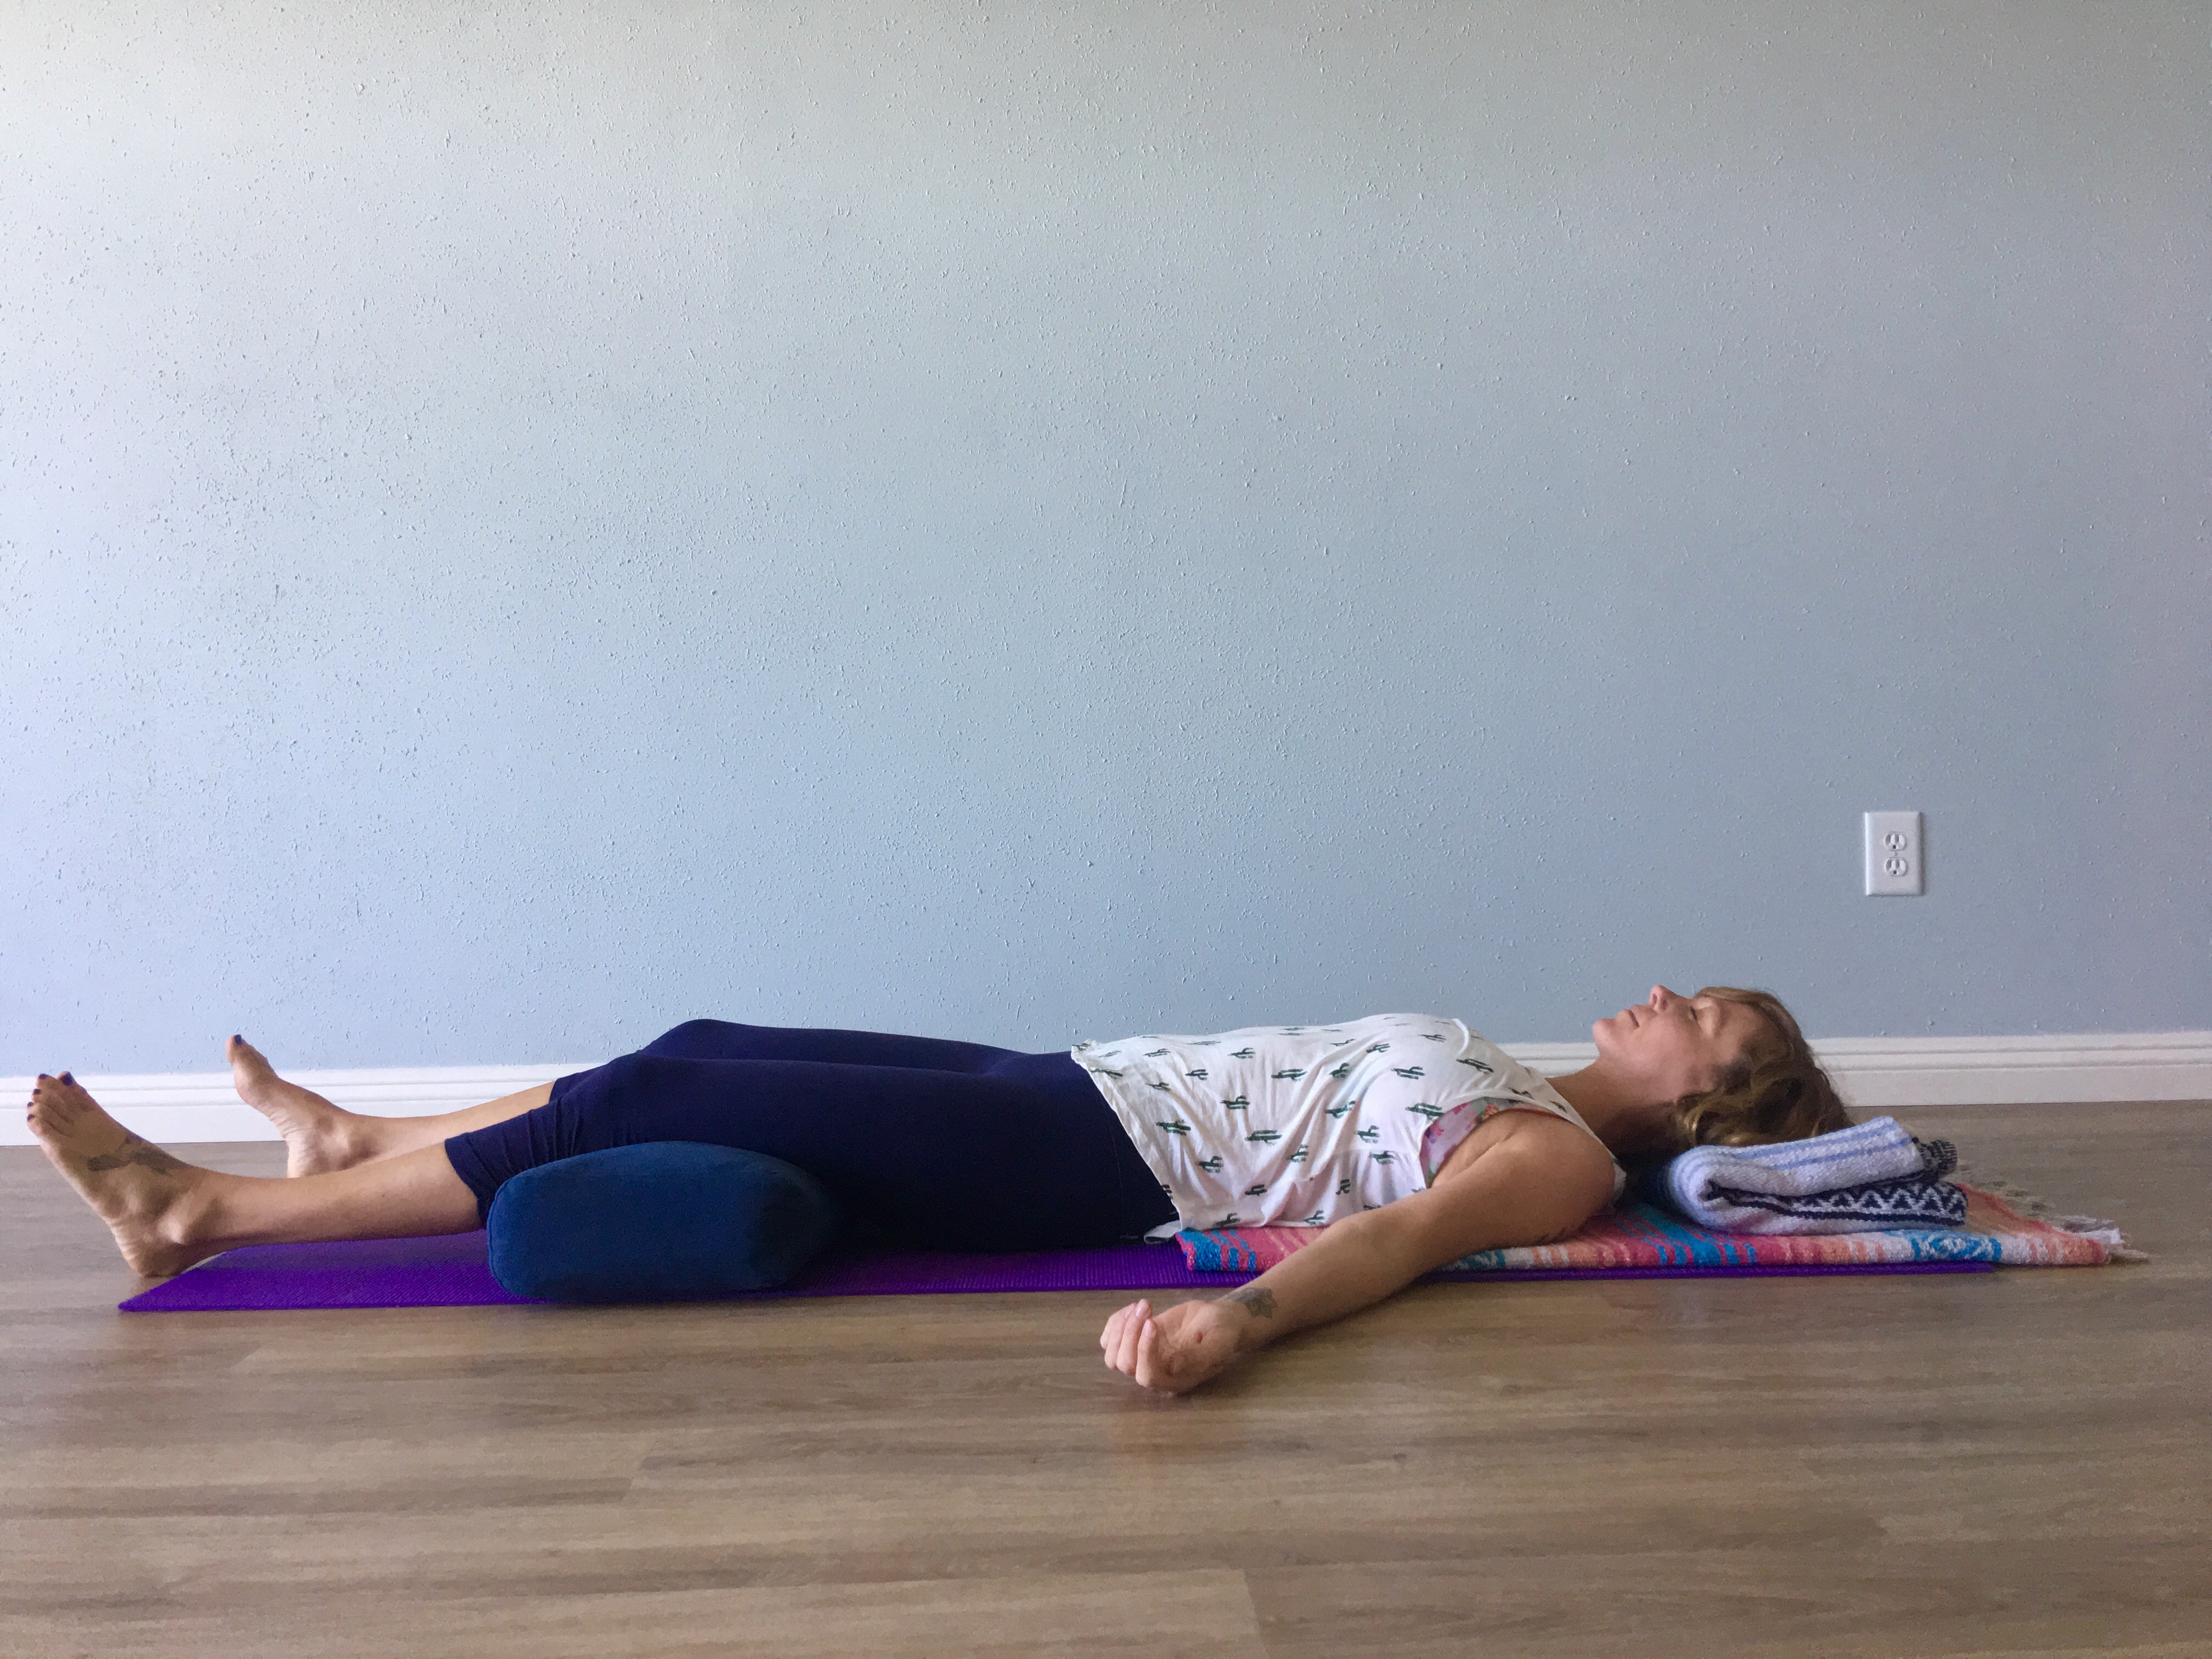
Optional props: bolster, blanket
-
Sit on the floor with your knees bent and the soles of your feet on the floor.
-
Place a folded blanket behind you, approximating where your head will rest when you lie down.
-
Place a bolster or rolled blanket horizontally under your knees.
-
Tuck your chin toward your chest and support yourself with your hands on the floor behind you as you lie back.
-
Rest your head and neck on the folded blanket, or make a small roll to support the curve of your neck. If would you feel more comfortable with nothing underneath your head, remove the blanket and rest your head on the floor.
-
Separate your feet and legs a comfortable distance apart. If you would be more comfortable without the bolster or blanket under the knees, remove the prop and allow your legs to settle onto the ground.
-
Stay as long as you’d like.
Would you like to study the many benefits of yoga for cancer? Study with Tari Prinster and YogaUOnline-Introduction to Yoga for Cancer: Tapping into the Body's Inherit Healing Wisdom.
Or read another article on this topic by YogaUOnline and writer, Jennifer Williams-Fields: Navigating Cancer Treatment-How Yoga Can Help.
 Christine Malossi, RYT 200 is based in New York City, where she offers a mindful, alignment-focused Vinyasa practice that cultivates balance, awareness and equanimity. In addition to teaching private clients and group classes at studios throughout Manhattan, she also teaches at the Spencer Cox Center for Health at Mount Sinai Hospital’s Institute for Advanced Medicine where she designs a practice specifically tailored to patients diagnosed with HIV and other chronic illnesses. Christine is honored to be teaching yoga and to have the opportunity to pass on to others the joy and freedom that she has found in her own practice. Find her at www.christinemalossi.com
Resources
Komatsu H., Yagasaki K., Yamauchi H., Yamauchi T., and Takebayashi T. (2016) “A self‐directed home yoga programme for women with breast cancer during chemotherapy: A feasibility study. “ International Journal of Nursing Practice, 22: 258–266. doi: 10.1111/ijn.12419.
Featured Courses
