View basket (0 items $0.00)
Error message
- Notice: unserialize(): Error at offset 5 of 154 bytes in variable_initialize() (line 1202 of /home/dh_6hcdc2/yogau.online/docroot/includes/bootstrap.inc).
- The file could not be created.
- The file could not be created.

4 Ways to Protect Hands and Wrists in Yoga
Human hands have many skills: using tools, typing, playing musical instruments, giving massages, or using sign language, just to name a few. However, in many yoga poses we make a special demand of our hands, expecting them to function like feet, holding all or most of the weight of the body. But our hands and not feet. So we need to learn how to protect our hands and wrists when we practice yoga.
Examples of these poses include Downward-Facing Dog Pose (Adho Mukha Svanasana), Upward-Facing Dog Pose (Urdhva Mukha Svanasana), Plank Pose (Phalakasana), Handstand Pose (Adho Mukha Vrksasana), and all the “bird poses” where we balance on our hands. Yet we don’t always prepare the wrists for this special demand, and injury can result. Looking at the structure of our wrists can help you understand why some preparation is important.
The Anatomy of Our Hands and Wrists
The wrist is made up of eight small bones, which form the transition between the two large bones of the lower arm (the radius and ulna) and the long bones of the palms (the metacarpals).
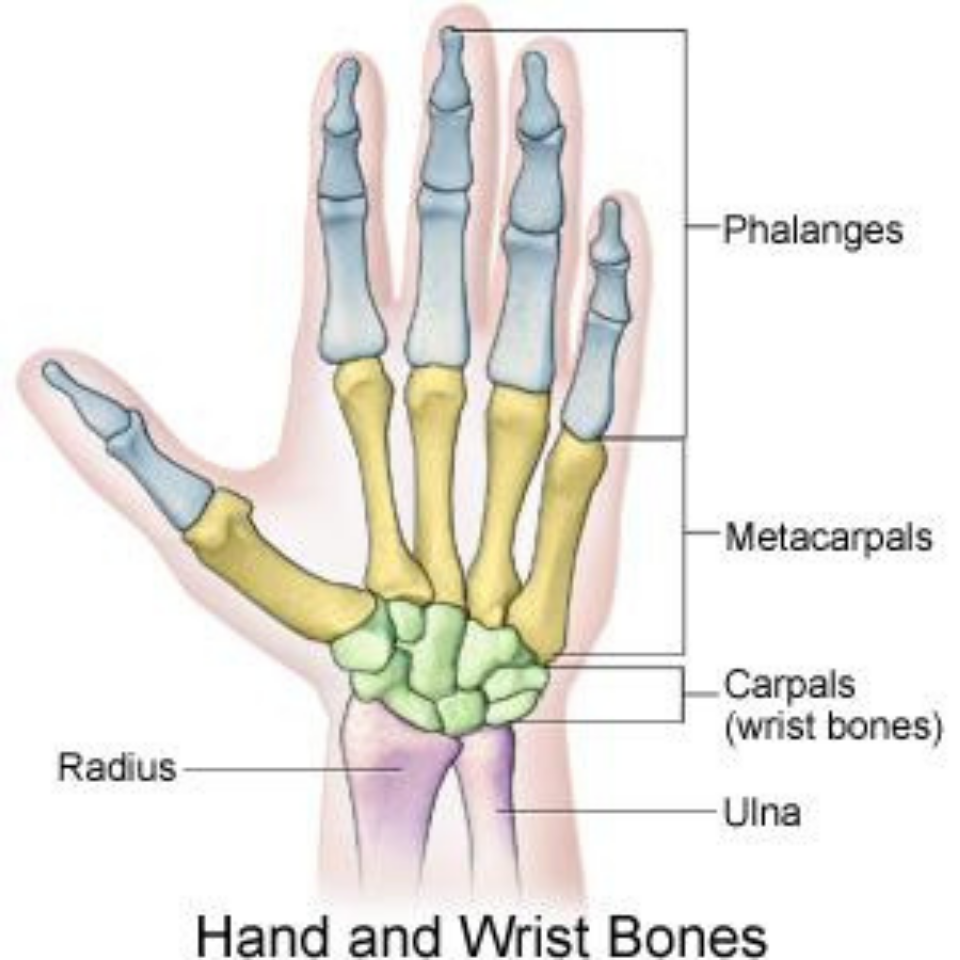
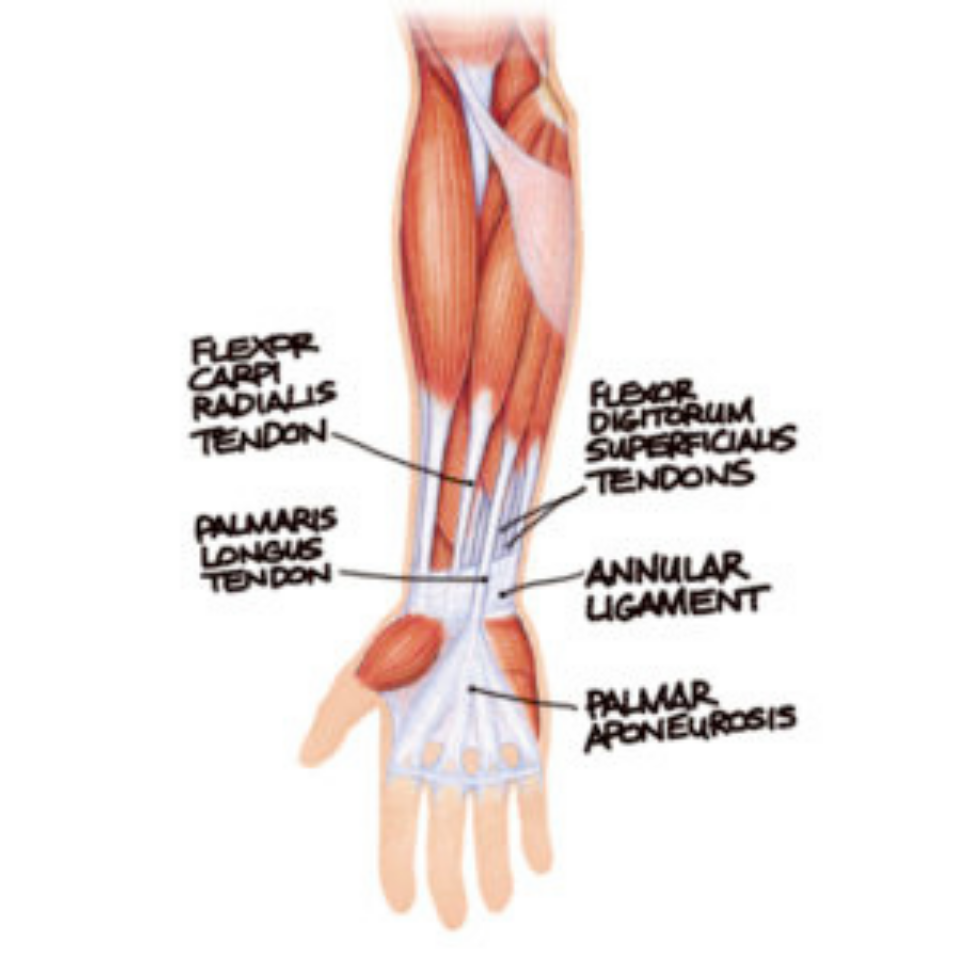
When we use our hands to bear our body weight as if they were feet, the wrists are in the extreme position of extension, as in the gesture when you extend your hand forward to say “stop.” This puts extreme pressure on those eight small bones and the soft tissue around them. Without adequate preparation for flexibility and strength in the mechanics of the arms as a whole, chronic or acute injuries may result.
One particular location to be aware of is the carpal tunnel in the wrist area.
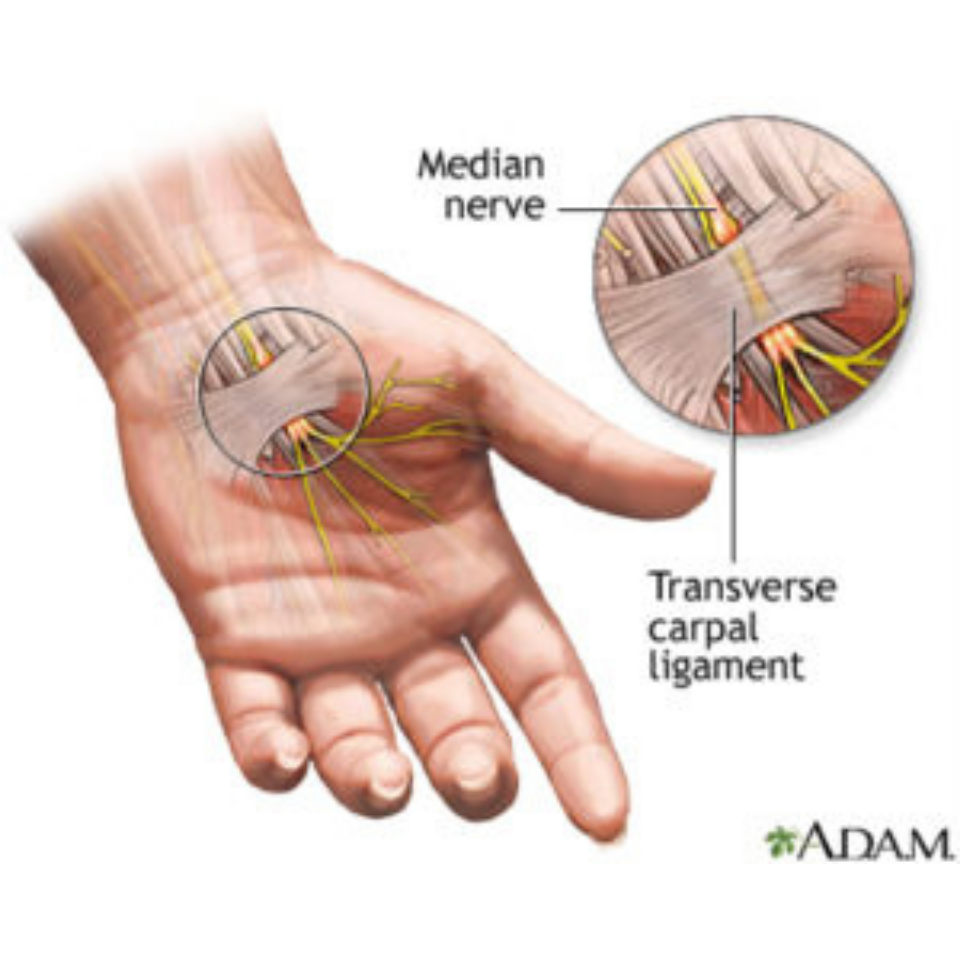
This is the structure formed by the carpal bones, which are arranged like a curved roof over a tunnel, whose floor is a broad connective structure called the flexor retinaculum, which is also known as the carpal ligament. When we put excessive pressure on the wrist in yoga poses, and the surrounding area is tight or misaligned, the pressure irritates the median nerve inside the tunnel, causing pain, numbness, or dysfunction in the hand.
4 Ways to Protect Hands and Wrists
There are four good ways to avoid this danger that I’ll be covering in this post:
-
Loosen the soft tissues of the hands and forearms so there is enough range of motion in the wrists.
-
Press down with the fingers to effectively take some of the weight off the wrists.
-
Use supportive pads.
-
Maintain good shoulder alignment.
How to Protect Your Hands and Wrists for Your Yoga Practice
1. Loosen the Soft Tissues of the Hands and Forearms
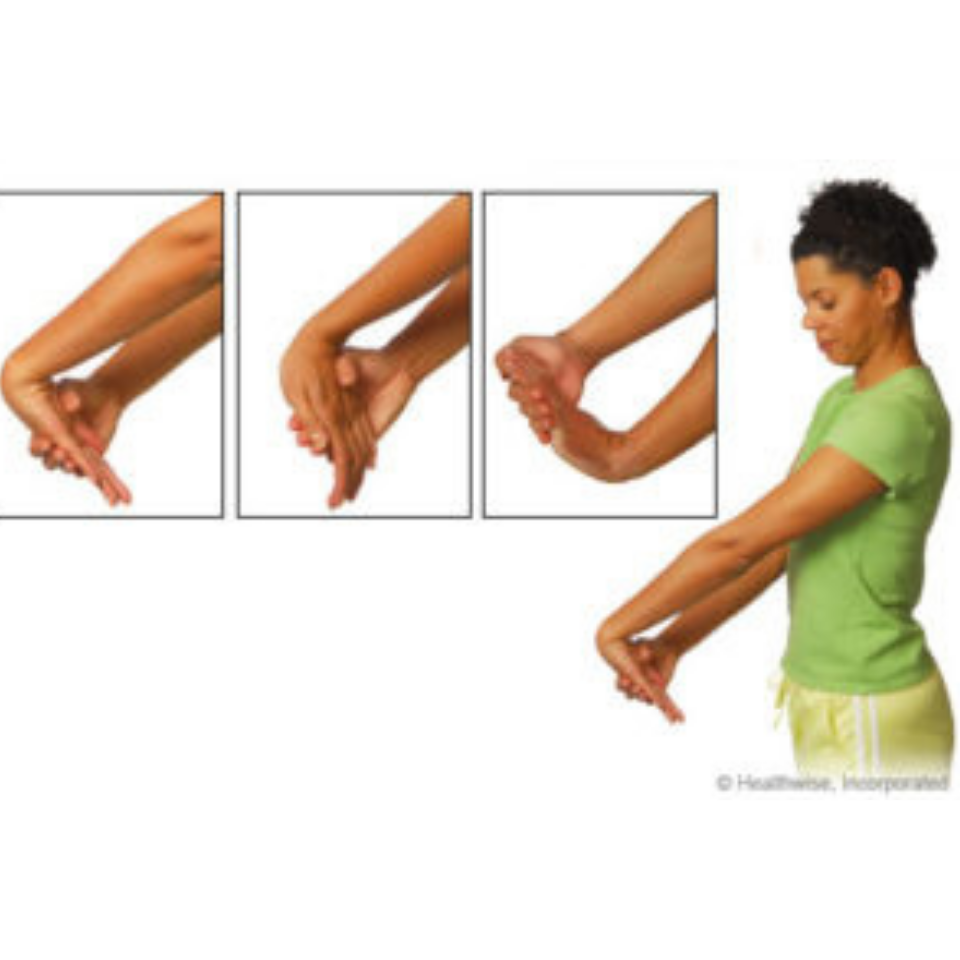
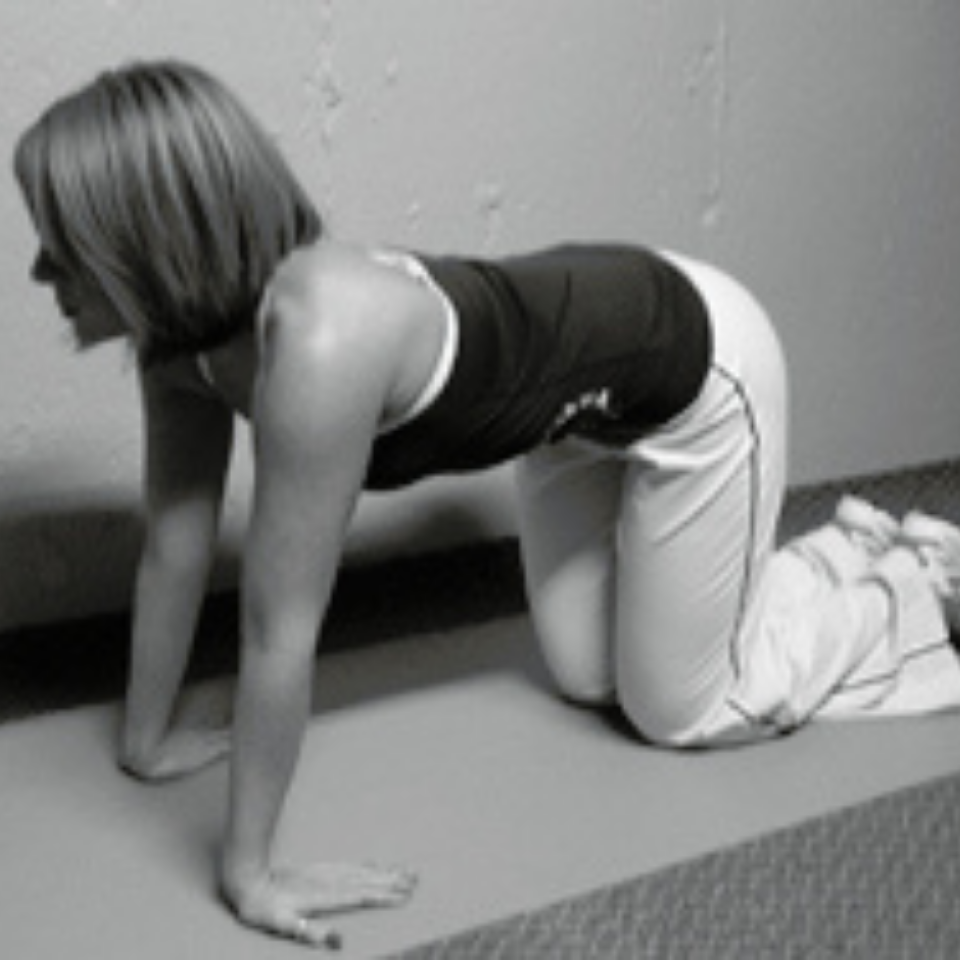
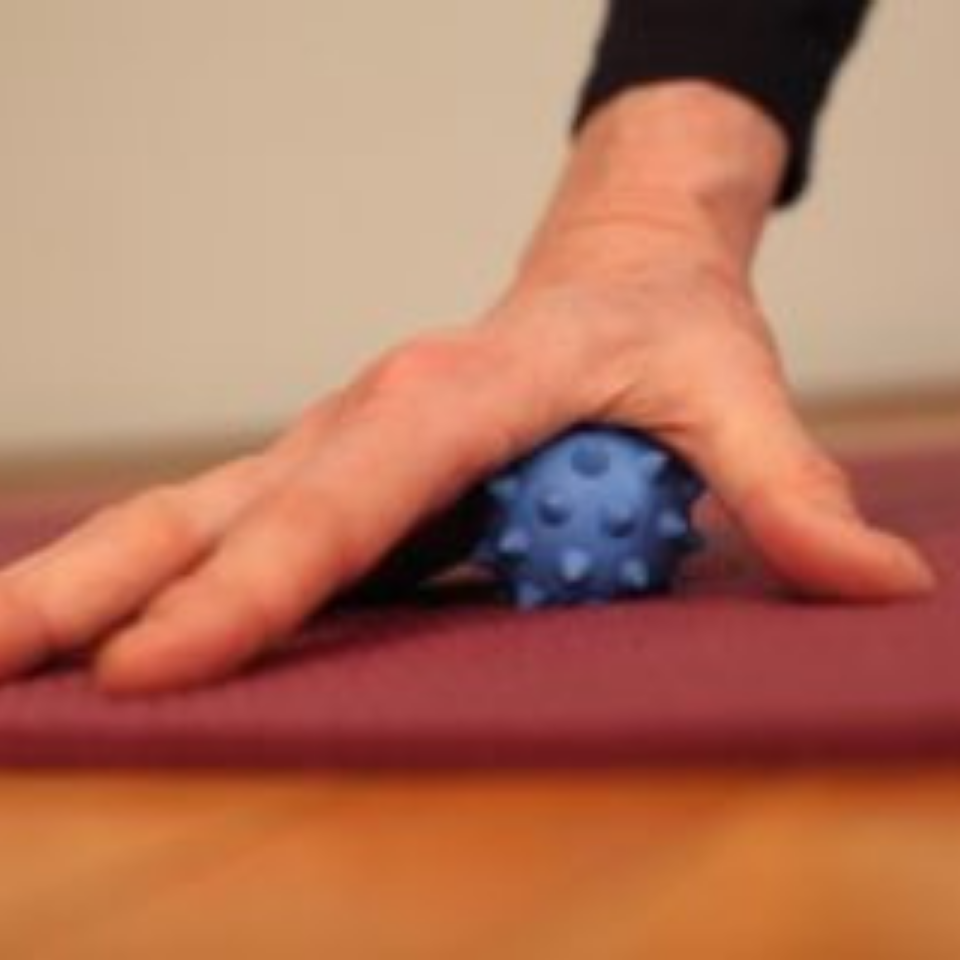
There are many small muscles of the hands that we use to grasp objects, which are protected by a strong band of connective tissue that in itself can be restrictive. Hands that are strong for grasping may not be able to spread enough to support us in yoga poses. Specific stretching and massage will help to prepare the hands by loosening this soft tissue. Here are examples of some wrist stretches and of massage of the hand with a rubber ball:
2. Press Down with Your Fingers
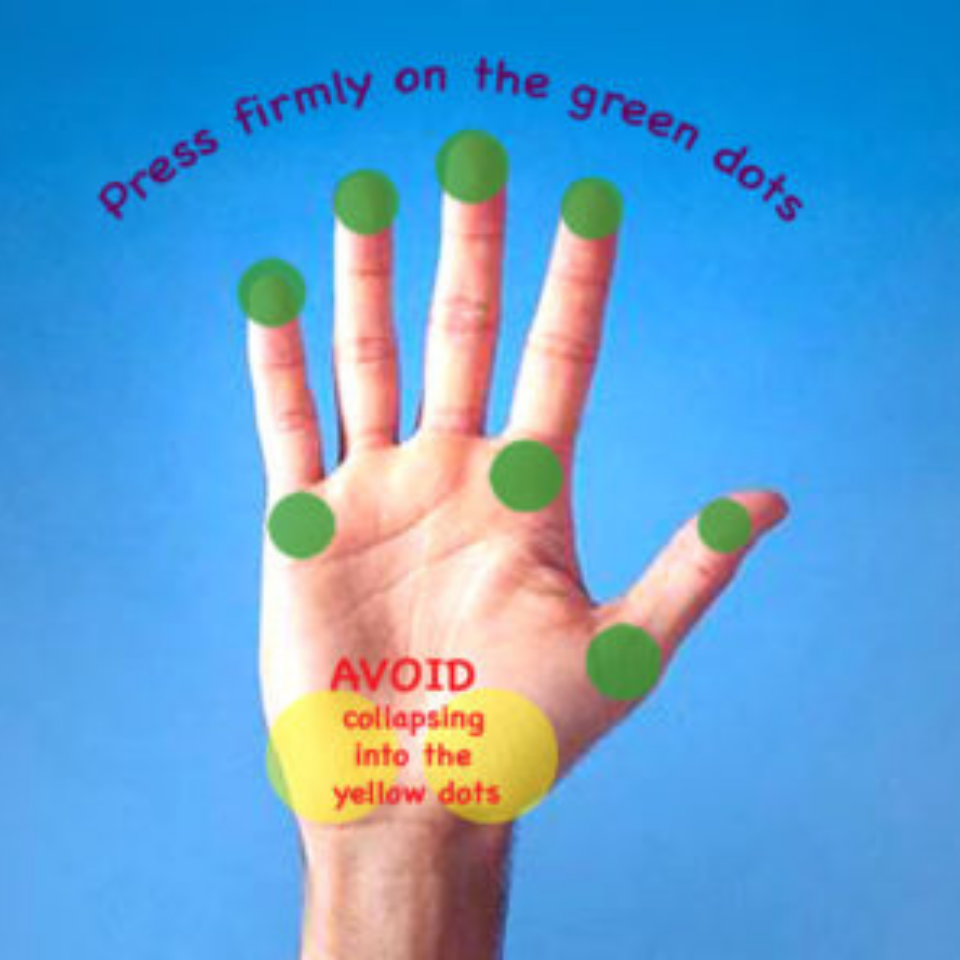
When we press the fingers down—all the way to the tips—we transfer weight forward on the hands and reduce the amount of weight on the wrists. Try it right now at your desk: press your fingers down and feel your palms and wrists begin to lift. You can experiment to determine the right amount of this action for you. Use this image with the green and yellow dots as a guide:
3. Use Supportive Pads
You can buy foam wedges to bring the weight forward on the fingers, but I prefer this: Cut up an old sticky mat to make a small roll, as shown here with the pencil as a size comparison.

Put that roll under the center of your wrist, pointing it toward and away from your fingertips. It will take pressure off the carpal tunnel and encourage small muscles in your hands to do their work. It’s best to use one under each hand for symmetry, even if only one wrist needs it.
4. Align Your Shoulders
Shoulder alignment can make a difference as well. Shoulders that are rounded forward put more weight into the hands. To help support and protect your wrists when your hands are bearing your weight, draw your shoulder blades in toward your spine and away from your head. This upper back strength will not only help prevent wrist strain, but it will support your upper spine and your breathing. And it will also lift your spirits!
A YogaUOnline Course with Ellen Saltonstall -Yoga and Myofascial Release: The BodymindBallwork Method.
Reprinted with permission from Yoga forTimesofChange.com
 Ellen Saltonstall, ERYT-500, C-IAYT, YACEP is an alignment-based yoga instructor and body therapist based in New York City with over 40 years of experience. Her background includes modern dance, a massage therapy practice, Iyengar Yoga and Anusara Yoga. She was certified in Anusara Yoga in 2001, then became a Subject Matter Specialist in anatomy and therapeutics. In addition to yoga, she teaches Bodymind Ballwork, a method of bodywork using rubber balls to facilitate tension release. Her published books include Yoga for Arthritis (2008), Yoga for Osteoporosis (2010), Anatomy and Yoga (2016), and The Bodymind Ballwork Method (2018). She offers yoga therapy webinars through YogaOnlineU.com, and she teaches nationally and internationally with a specialty in anatomy and therapeutics. She is known for her clarity, depth of knowledge, and enthusiasm in encouraging students of all levels to find freedom and joy through yoga. More information here.
Featured Courses
