View basket (0 items $0.00)
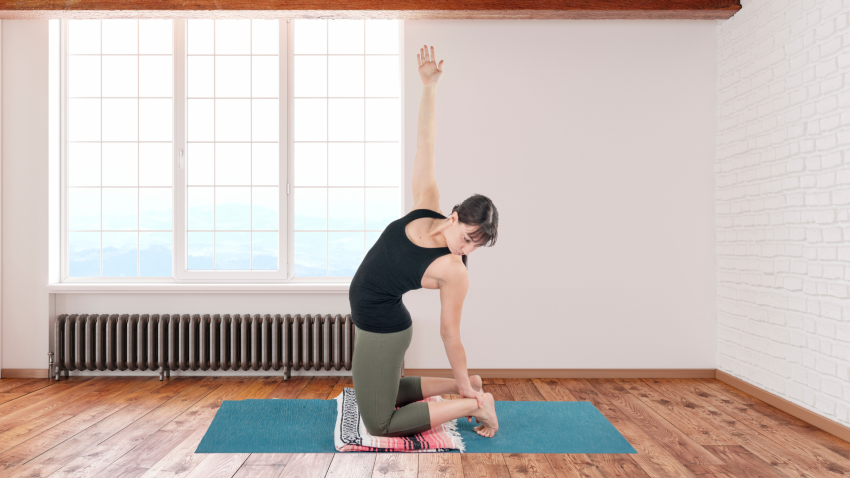
Yoga Pose Primer: Revolved Camel Pose
Revolved Camel Pose shares many of the same benefits as traditional Camel Pose, and then some. This backbend mobilizes your lumbar spine, and the twisting aspect mobilizes your thoracic spine. The pose stretches the hip flexors and expands the chest. Like all backbends, Camel Pose is a great counterpose to long hours of sitting.
Practicing Camel Pose is well known to promote emotional release. We store emotions in our bodies. Many of us spend our days bent forward over devices, desks, countertops, etc. When we expand our shoulders and chests in the opposite direction, we sometimes feel emotions bubbling up. While it may be inconvenient for this to happen in yoga class, it’s ultimately a positive thing.
Benefits Of Revolved Camel Pose
The first time I practiced Ustrasana (Camel Pose) 40 years ago, I couldn’t wait to get out of it. At the time, I hadn’t practiced any backbends for years. So that first time, my entire front body felt like it was ripped apart. Worst of all, I felt as if I couldn’t catch my breath. With practice, as my body gradually loosened, I began to enjoy Camel Pose. At one point in my practice, my body could do the “full” version—bending all the way back, placing my forearms on the floor, and grabbing my feet. Yikes! (Camel Pose variation pictured below)
 I haven’t done the “full” pose in years, and I don’t plan on doing it again. That’s because I no longer find it necessary or even enjoyable to push my body to extremes. I do still enjoy the traditional version of Ustrasana sometimes, though. Many of my students still enjoy practicing it as well. In recent years, I’ve especially enjoyed practicing and teaching a Camel variation: Revolved Camel Pose (Parivrtta Ustrasana).
Revolved Camel Pose is a backbend and a twist. You can practice it independently or use it as a bridge to traditional Camel Pose. Because of the twist, the pose prepares your back, one side at a time, for the more intense backbending of traditional Camel.
How To Prepare For Revolved Camel Pose
It’s important to warm up before practicing any backbend. Here are the actions that can prepare us for practicing Revolved Camel Pose, along with poses that support these actions:
-
Mobilize and Warm Up the Shoulders: Sun Salutations (Surya Namaskar)
-
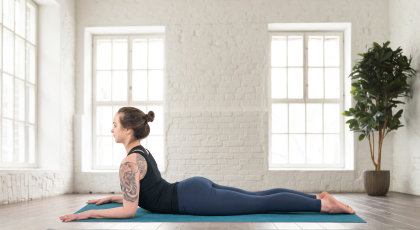
Stretch the Abdomen: Cobra Pose (Bhujangasana), Locust Pose (Salabhasana)
-
 Lengthen the Quadriceps: Lunge Pose (Anjaneyasana), Half Hero Pose (Ardha Virasana)
 -
Expand the Chest: Supported Fish Pose (Salamba Matsyasana)
-
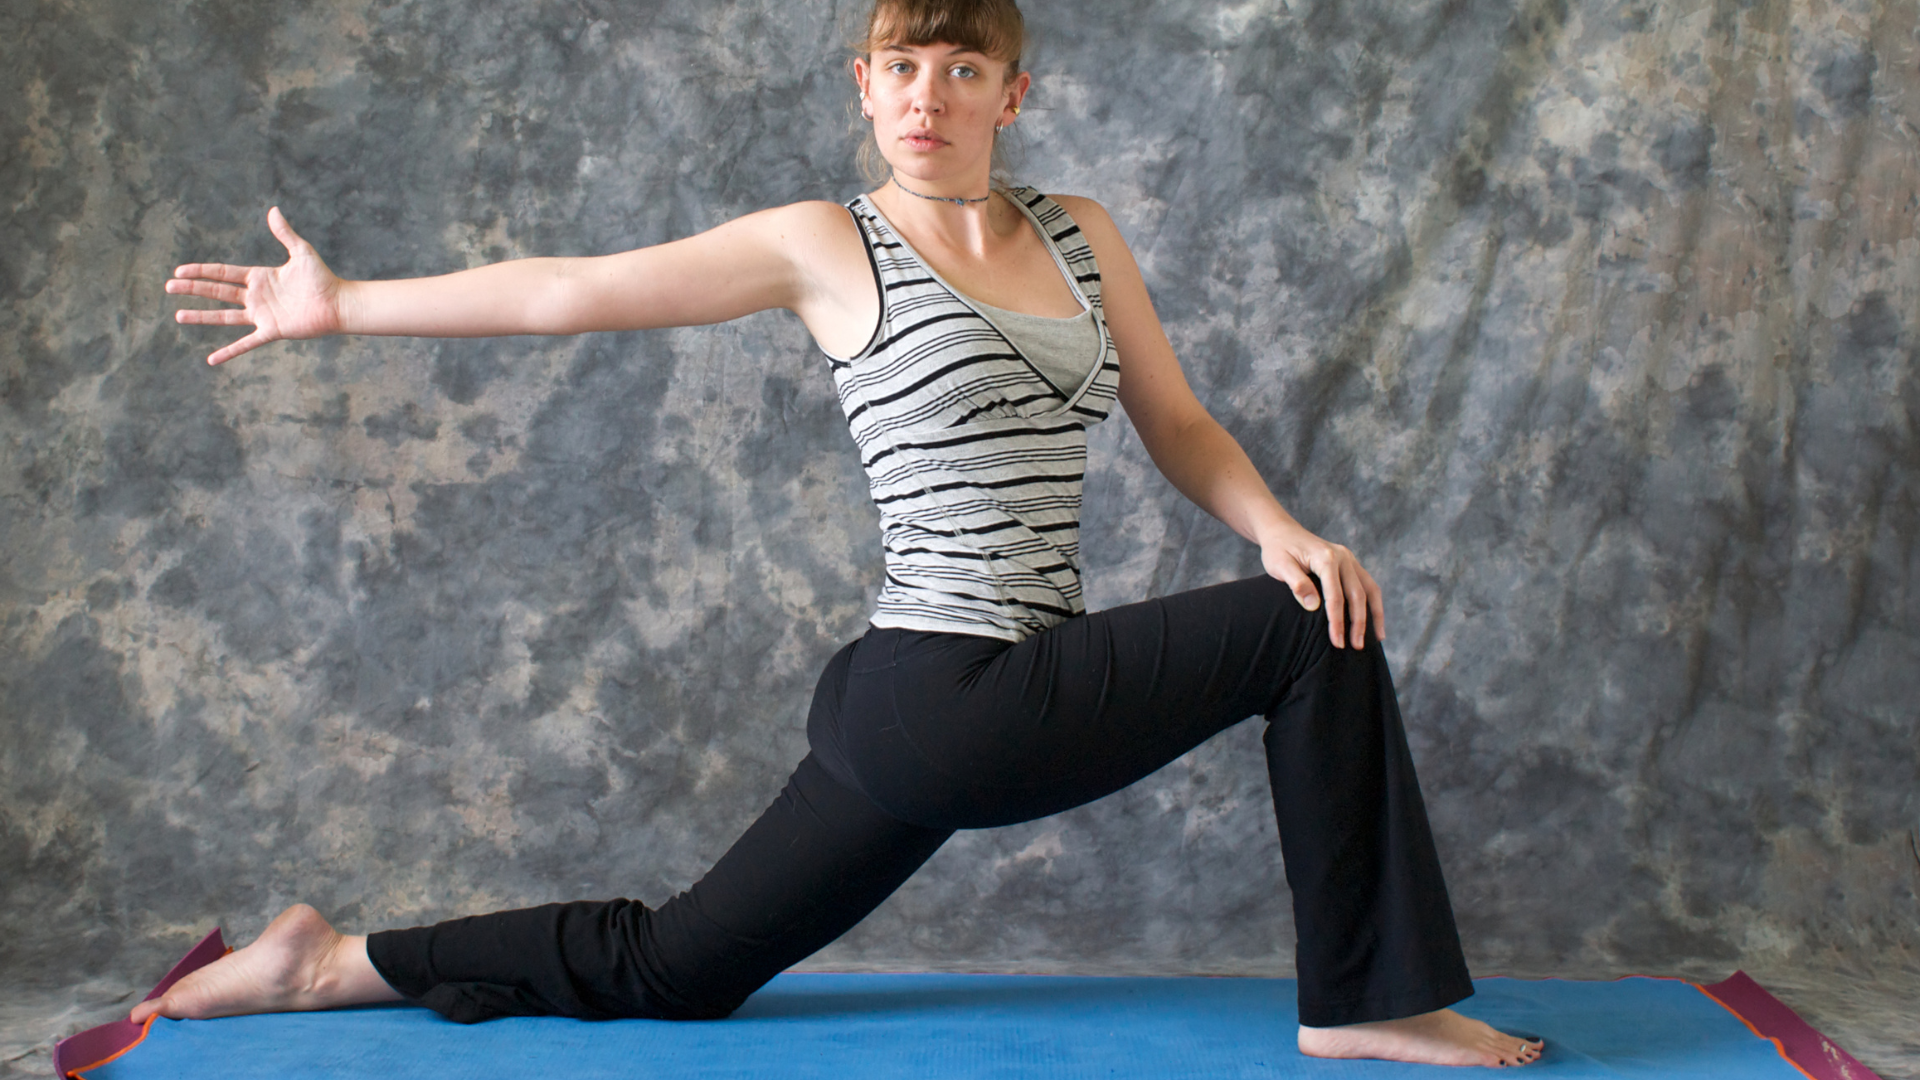
Twist: Revolved Lunge Pose (Parivrtta Anjaneyasana)
 Cautions For Parivrtta Ustrasana
Be aware that Parivrtta Ustrasana may not be appropriate for everyone. Please avoid this pose if you have high blood pressure or severe fatigue. Here are some other cautions and contraindications from Yoga Journal:
-
Avoid or modify if you feel any pinching or pain in your low back.
-
Avoid or modify if you have any shoulder pain, shoulder arthritis, or shoulder injuries.
-
Avoid or modify if you have any back pain or injuries, including surgeries.
-
For most, it is best not to drop your head back in this pose, particularly if you have a neck injury or are at risk for stroke. Instead, lift your chin slightly and use your neck muscles to stabilize your head in place. You can even draw the chin in toward the chest.
-
Avoid or modify if you have shoulder injuries or pain in the pose.
How To Practice Revolved Camel Pose
-
Gather your props: a yoga mat and a 4-Inch yoga block.
-
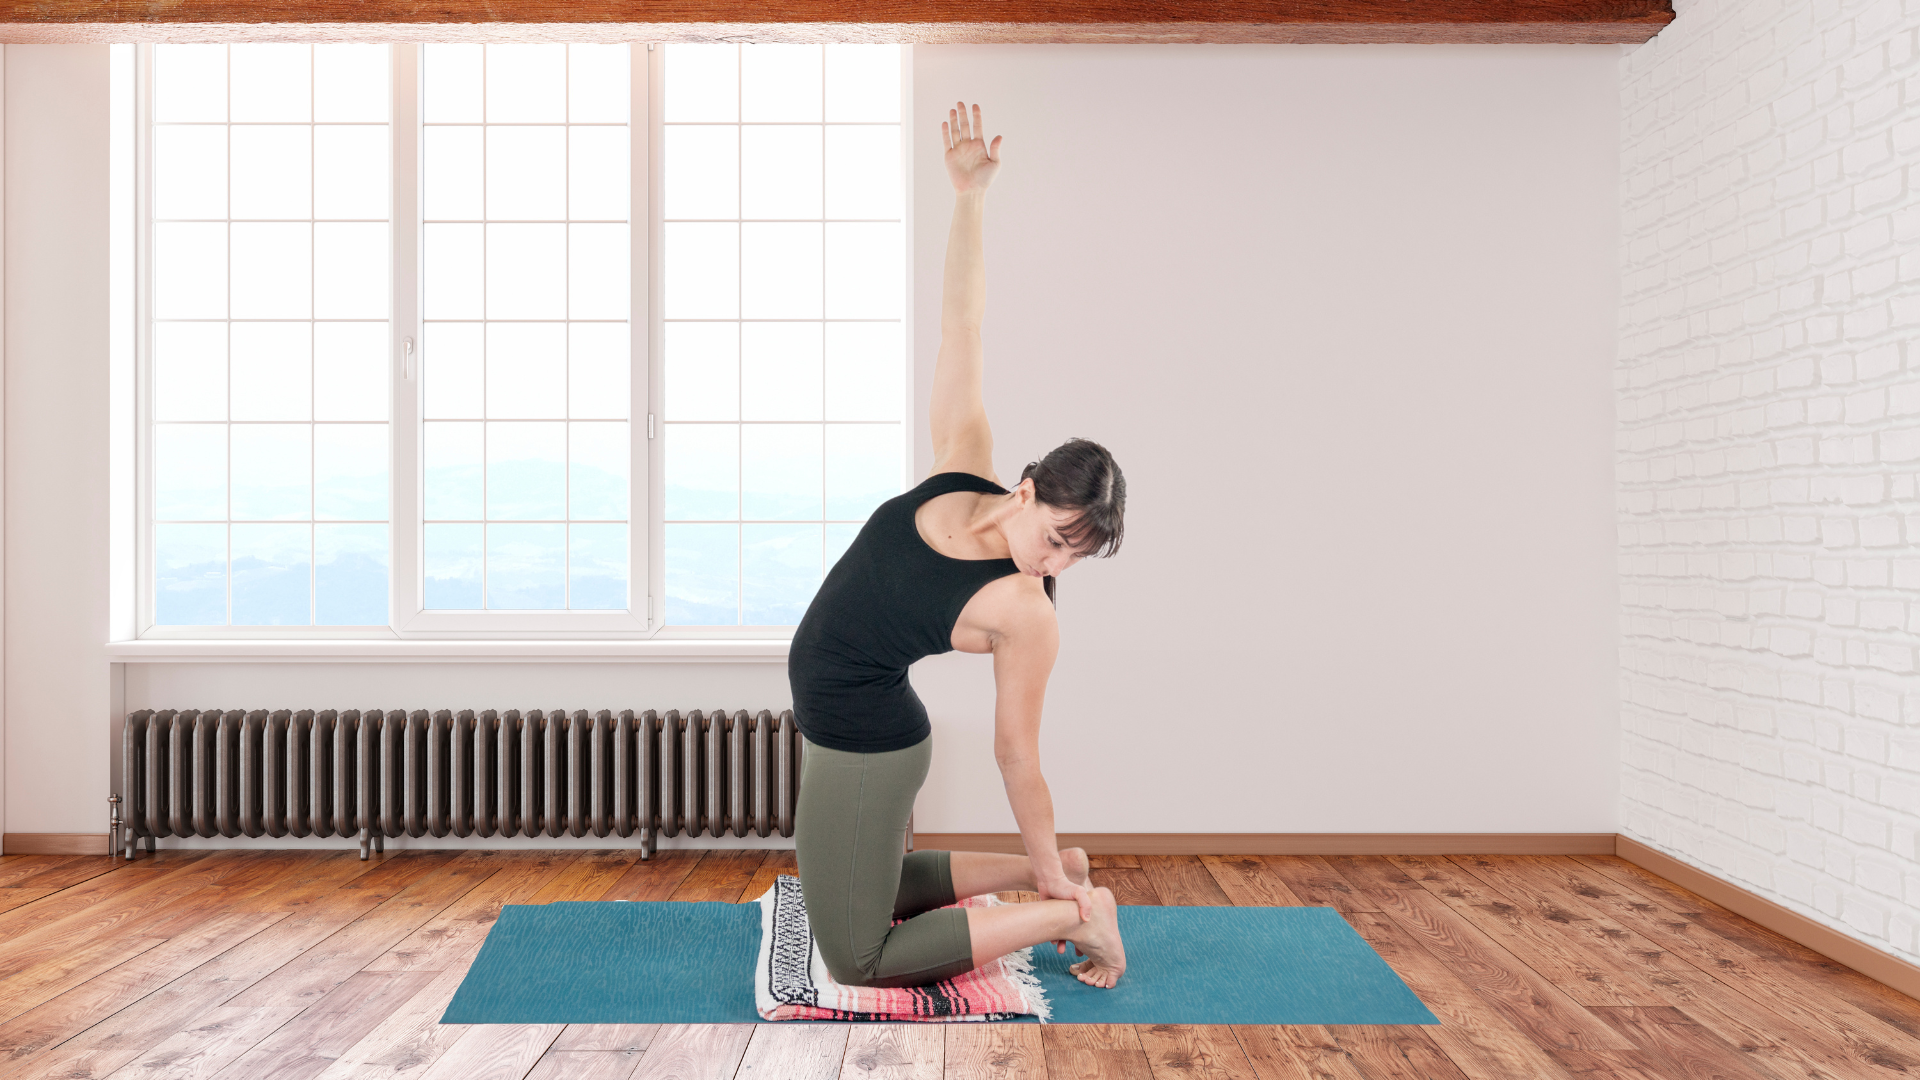
Come to a kneeling position on your yoga mat with your legs extending straight back and the tops of your feet on the floor. Place a block on its tallest setting next to your right foot.
-
Place your right hand on your pelvic rim and press downward as if to lengthen your low back.
-
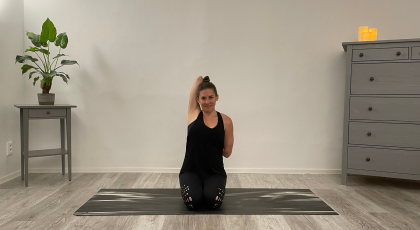
Extend your left arm up alongside your head.
-
Keeping your pelvis over your knees, lean the upper torso back and place your right hand on your block.
-
If you’re not feeling a lot of stretch, you can turn your block on its side so that it’s at medium height. Or, if you like, you can try placing your right hand on your right ankle or heel.
-
Keep your head in a comfortable position. Imagine your head and neck following the trajectory of your spine.
-
Take 5 to 8 deep breaths. Then press down with your shins to help you lift back up to a kneeling position.
-
If you like, you can stay kneeling for a few breaths or sit back on your heels in Lightning Bolt Pose (Vajrasana). As you rest in between sides, tune into your body, noticing any shifts in your energy or your breathing.
-
Repeat on the other side.
Reprinted with permission from Charlotte Bell/Hugger Mugger Yoga Products.

Charlotte Bell began practicing yoga in 1982 and began teaching in 1986. She was certified by B.K.S. Iyengar in 1989 following a trip to Pune. In 1986, she began practicing Insight Meditation with her mentors, Pujari and Abhilasha Keays. Her asana classes blend mindfulness with physical movement. Charlotte writes a column for Catalyst Magazine and serves as editor for Yoga U Online. She is the author of three books: Mindful Yoga, Mindful Life, and Yoga for Meditators, both published by Rodmell Press; and Hip-Healthy Asana: The Yoga Practitioner’s Guide to Protecting the Hips and Avoiding SI Joint Pain, published by Shambhala Publications. She also edits Hugger Mugger Yoga Products' blog and is a founding board member for GreenTREE Yoga, a non-profit that brings yoga to underserved populations. A lifelong musician, she plays oboe and English horn in the Salt Lake Symphony and the folk sextet Red Rock Rondo whose 2010 PBS music special won two Emmys.
Featured Courses
